Screenshots
Test2Doc has a helper function to take screenshots of the page or selectively highlight elements to point out what you are documenting.
Screenshots will be added to the markdown files after the Step block's title and in the order they're generated.
Screenshot names are prefixed with test2doc- and a 12 character hash based off of buffer image data. E.g. test2doc-[hash].png. To give a screenshot the same name on every run, set a fixed file name.
Screenshots need to be associated with a step, so be sure to nest the screenshot function call inside of a step block.
See the Test Steps guide for more details on using steps with Test2Doc.
Imports
To add screenshots you'll need to import it in your test file:
import { screenshot } from "@test2doc/playwright/screenshots";
When to use the screenshot function
- Page screenshots: Pass the
pageobject for full-page captures - Element highlighting: Pass a
locatorto highlight specific elements - Custom options: Include Playwright screenshot options for clip, format, etc.
- Annotations: Add
annotationoptions to customize highlighting - Multiple elements: Pass an array of
MultiLocatorScreenshotobjects
Adding Screenshot of the page
The screenshot function requires testInfo (in order to pass the screenshot to the reporter).
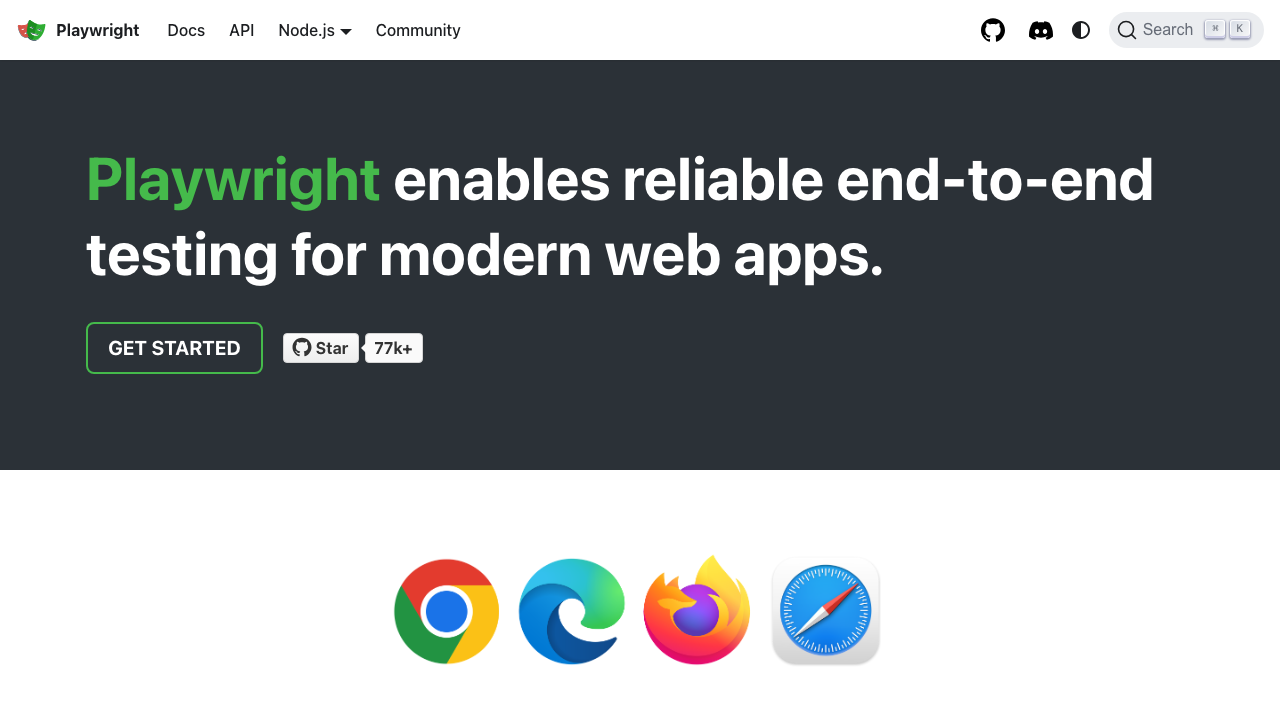
To take a screenshot of the current view of the page, you can pass the page object to the screenshot function.
Example test
import { screenshot } from "@test2doc/playwright/screenshots"
...

test.describe(withDocMeta("describe block"), async () => {
  test("test block", async ({ page }, testInfo) => {
    ...
    await test.step("step block", async () => {
      await page.goto("https://playwright.dev/")
      await screenshot(testInfo, page)
    })
  })
})
Example markdown
# describe block
## test block
step block

Example screenshot
Highlight an element in screenshot
It's possible to highlight an element by passing in a locator of an element instead of the page object.
The element selected to be highlighted will be attempted to scroll in to view before taking the screenshot.
Example test
import { screenshot } from "@test2doc/playwright/screenshots"
...

test.describe(withDocMeta("describe block"), async () => {
  test("test block", async ({ page }, testInfo) => {
    ...
    await test.step("step block", async () => {
      await page.goto("https://playwright.dev/")
      await screenshot(testInfo, page.getByRole("link", { name: "Get started" }))
    })
  })
})
Example markdown
# describe block
## test block
step block

Example screenshot
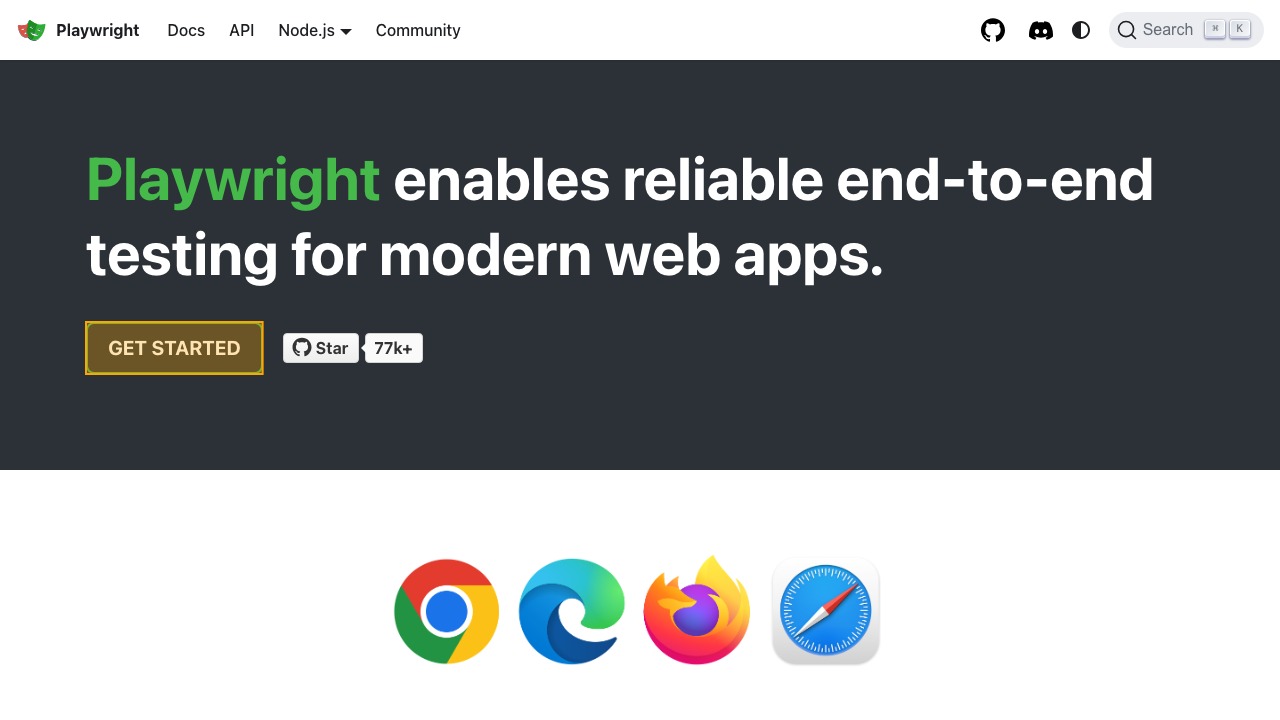
Note: You can customize the highlighting of elements by passing the
annotationoptions in thescreenshotoptions. Explained more in the annotation section.
Adding captions with figure and figcaption
For screenshots that need additional context or explanation, it is possible to generate images using the <figure> tags with a <figcaption>. This is useful for providing descriptive text alongside images in your documentation.
To enable figure/figcaption formatting, pass figure: true and optionally caption in the annotation options:
Example test with caption
import { screenshot } from "@test2doc/playwright/screenshots"

test.describe(withDocMeta("describe block"), async () => {
  test("test block", async ({ page }, testInfo) => {
    await test.step("Login screen", async () => {
      await page.goto("https://example.com/login")
      await screenshot(testInfo, page, {
        annotation: {
          figure: true,
          caption: "The main login screen showing email and password fields",
        },
      })
    })
  })
})
Example markdown with caption
# describe block
## test block
Login screen
<figure>

<figcaption>The main login screen showing email and password fields</figcaption>
</figure>
Example test without caption
If you want a figure wrapper without a caption, simply set figure: true:
await screenshot(testInfo, page, {
  annotation: { figure: true },
})
This generates:
<figure>

</figure>
When to use figure/figcaption
Use figure and figcaption when:
- Detailed context needed: Screenshots require explanation beyond the step title
- Accessibility: Captions help screen readers understand image context
- Professional documentation: Formal docs benefit from properly captioned figures
- Complex visuals: Diagrams or multi-part screenshots need clarification
Setting a fixed file name
By default a screenshot's file name comes from a hash of the image, so it changes whenever the page looks even slightly different. If you need each run to produce the same set of files, for example to link to them from elsewhere, set filename in the annotation options. The file is overwritten on every run.
.png is added if it's missing, and the name can't contain / or \.
Example test
await test.step("Login screen", async () => {
  await page.goto("https://example.com/login")
  await screenshot(testInfo, page, {
    annotation: { filename: "login-screen" },
  })
})
Example markdown
Login screen

Keep in mind:
- Give each screenshot a unique name. Two screenshots with the same
filenameoverwrite each other. - Don't set
filenameinannotationDefaults, or every screenshot will share one file. - Test2Doc only cleans up files prefixed with
test2doc-. If you rename or remove a screenshot with a fixed name, delete the old file yourself. - A fixed name will overwrite a handwritten file with the same name in the output directory.
Highlight multiple elements
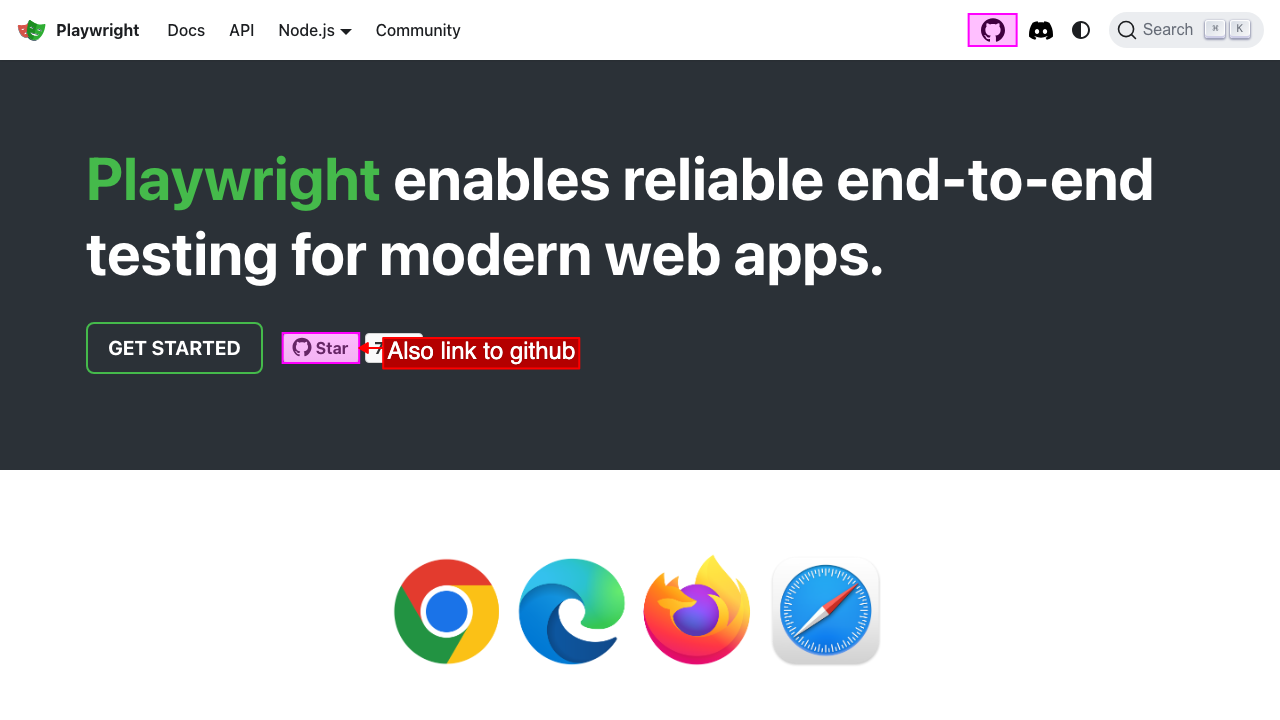
In the event that you need to highlight multiple elements, you can pass in an array with MultiLocatorScreenshot objects.
The MultiLocatorScreenshot has 2 keys, target, a Playwright Locator, and options, which is a combination of PageScreenshotOptions and annotation options.
Note: Only the first item in the array will be attempted to scroll into view.
Example test
test.describe(withDocMeta("describe block"), async () => {
  test("test block", async ({ page }, testInfo) => {
    ...
    await test.step("links to github", async () => {
      await page.goto("https://playwright.dev/")

      await screenshot(testInfo, [
        {
          target: page.getByRole("link", { name: "Star microsoft/playwright on GitHub" }),
          options: { annotation: { position: "right" } },
        },
        { target: page.getByRole("link", { name: "GitHub repository" }) },
      ])
    })
  })
})
Example markdown
# describe block
## test block
links to github

Example screenshot
Troubleshooting
- Screenshots not appearing: Ensure the
screenshotcall is inside atest.stepblock - Elements not highlighted: Verify the locator is correct and the element is visible
- Elements not in view: The first element will auto-scroll into view, but ensure it's actually visible
- Screenshots appears out of order Make sure to
awaitthetest.stepand thescreenshotfunction - Test2Doc screenshots are not assertions - To assert that elements are rendering consistently use Playwright's visual comparison